At datarockets, we develop mobile applications for a variety of startups and organizations. Currently, we work on one of the most interesting projects we ever had related to cryptocurrencies and their integration with banking services. One of the last tasks we have implemented was session recording and analytics in React Native application.
You may be also interested in setting up React Native architecture.
Our client successfully launched a beta version of his product we develop and started gathering valuable feedback. The client wanted to understand customers’ behavior in the app better. On the web, they use Hotjar. It’s a very popular framework for creating heat maps and collecting user events which create a decent experience about overall usage of the app. Unfortunately, there is no version for React Native and that is why we decided to look for another solution for session replay and analysis.
Finally, we found a library for React Native application which is called UXCam. The solution was developed for iOS, Android and React Native. It seemed to be interesting for us in comparison with its main competitor called AppSee in terms of pricing and other features. That is why we decided to use it in our project.
First things first, all we had to do is to sign up for demo period. Then we got access to dashboard with a given API key and documentation. We started with adding a library to our project using Yarn.
yarn add react-native-ux-camTo make code cleaner, we have created a file configuxcam.jsUX_CAM_KEY
import RNUxcam from 'react-native-ux-cam'
import Config from 'react-native-config'
const initUXCam = () => {
  RNUxcam.startWithKey('UX_CAM_KEY')
  RNUxcam.setAutomaticScreenNameTagging(false)
}
export default {
  initUXCam,
}
There is an initialization method of UXCam. Also, as you can see, we decide to disable automatic screen name tagging. In our project, we use React Native Navigation by Wix which helps to provide a better user experience in terms of navigating between different screens. The problem is that UXCam incorrectly gives a name to a screen and it can’t help us to track how much time users spend in the app overall. Fortunately, there is a trick we use to choose a name precisely for the currently displayed screen.
Now we could import our initUXCam method into our App.js file.
import uxcam from ‘./uxcam’
const init = () => {
  uxcam.initUXCam();
  // Other code regarding initialization of the app
}
export default {
  init,
}
To observe appearing of a new screen and send it to UXCam we use a listener from React Native Navigation. Here is how the usage looks like:
import { Navigation } from 'react-native-navigation'
import RNUxcam from 'react-native-ux-cam'
Navigation.events().registerComponentDidAppearListener((componentId, componentName) => {
   RNUxcam.tagScreenName(componentName)
});
Then you can build the app and try it on a simulator or on a real device. It’s up to you.
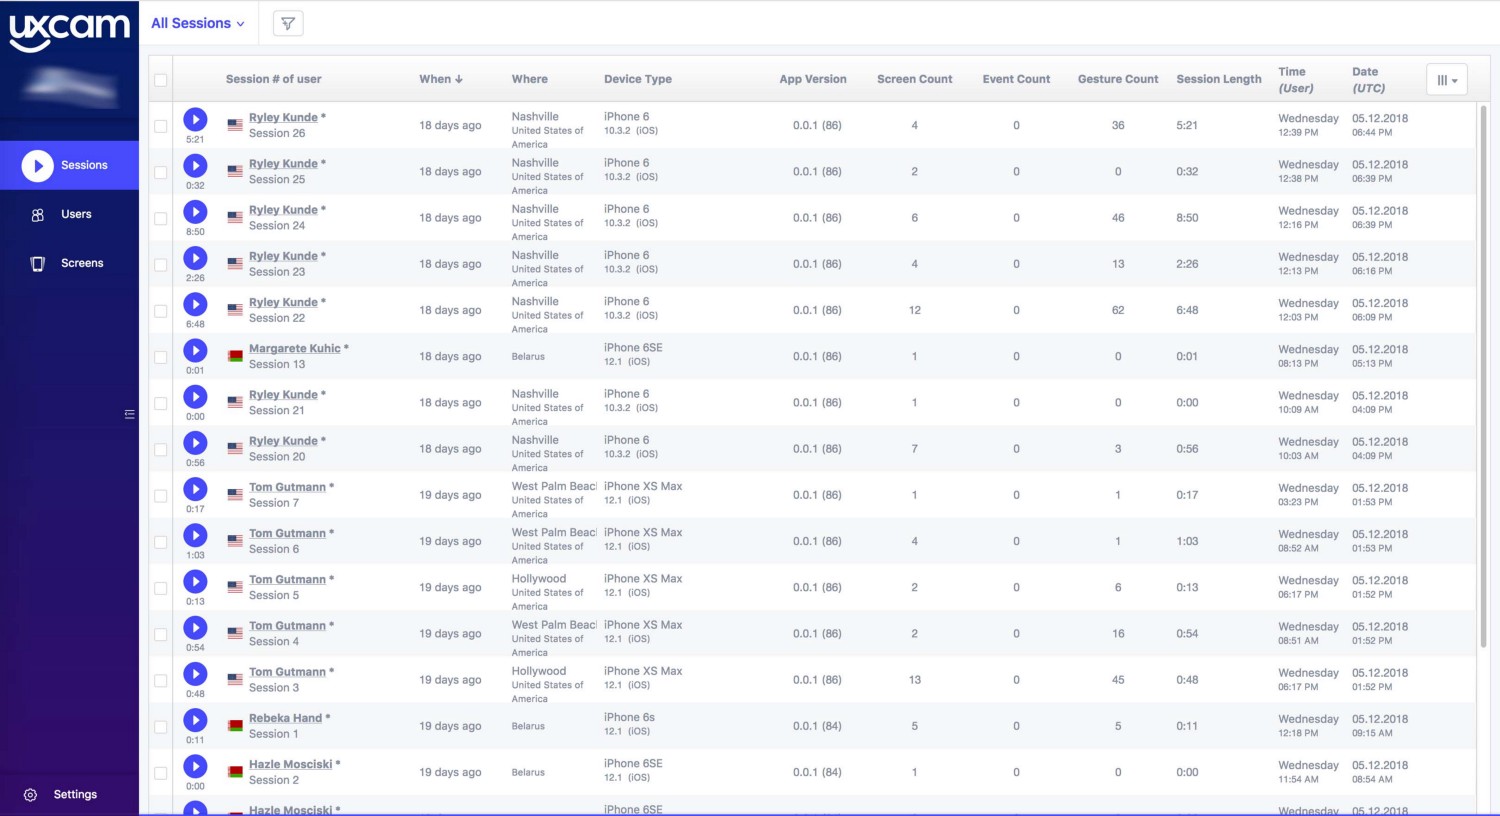
Now we can track user sessions in the UXCam dashboard. The videos are uploaded when the sessions are finished. You can watch a video of a session and analyze users’ behavior in certain places of the app.

UXCam seems to be the most affordable solution when we talk about doing precise analytics of users behavior. Setup doesn’t take too much time and after a small input from a developer, the library gives up a huge output with a powerful dashboard. It helps to understand which parts of the app confuse users in terms of navigating and which parts make them happy about using the app. You can simply track events with Firebase Analytics today, but the tools like UXCam are the future.

Check out our newsletter